Picture this: it’s a calm evening, and you’re relaxing at home when you notice a pesky leak dripping from the ceiling. Or maybe a recent storm left your yard littered with broken shingles, and you know it’s time to call in a roofing professional. If this sounds familiar, you’re not alone. Roof repairs are a part of homeownership that every homeowner encounters sooner or later.
While scheduling the repair is an important first step, preparing your roof for repair is equally vital. Many homeowners overlook this step, but proper roof repair preparation can save time, reduce stress, and protect your home throughout the process. Whether you’re dealing with storm damage, aging materials, or a sudden leak, ensuring your roof is ready for the repair makes the entire process more efficient and effective.
In this guide, we’ll break down the key steps to preparing your roof for repair, discuss roof maintenance before repair, and highlight how you can avoid common pitfalls.
Why Preparing Your Roof for Repair Matters
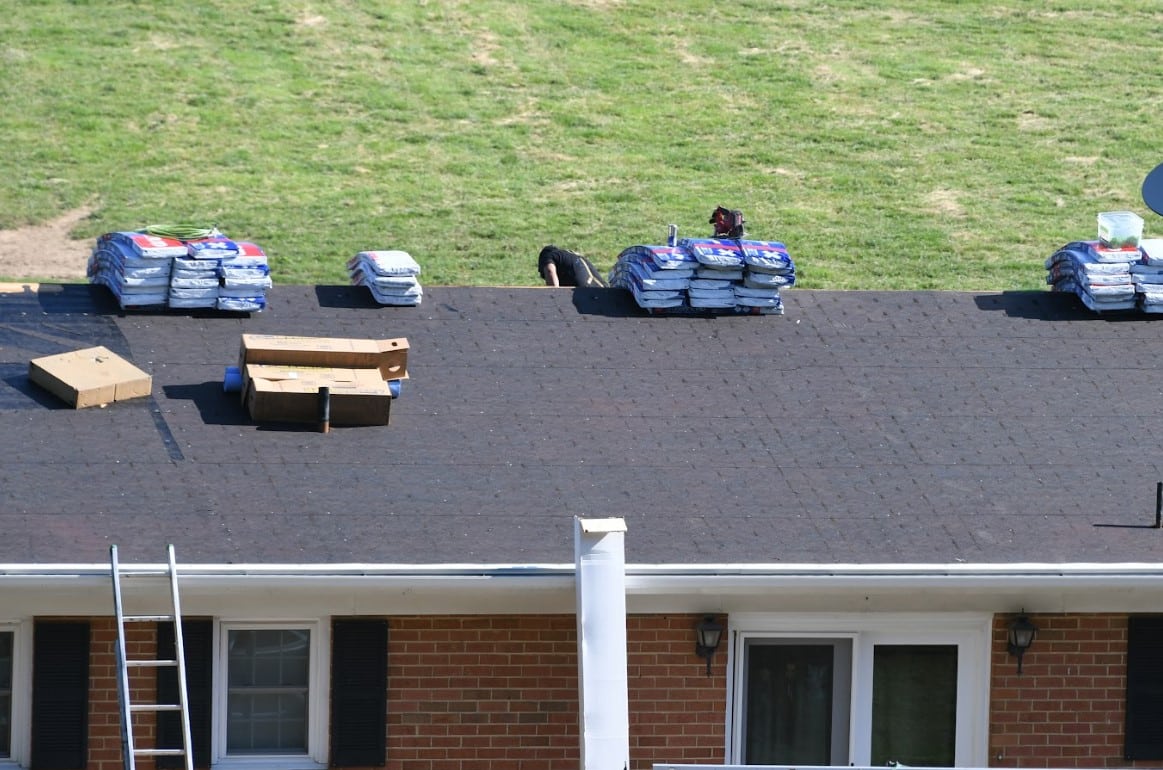
Many homeowners think they can just call a roofing contractor and leave everything to them. While it’s true that professionals handle the heavy lifting, skipping roof repair preparation can lead to avoidable issues. For example, falling debris can damage landscaping, blocked access points can delay the crew, and failing to identify hidden issues can result in additional costs or prolonged timelines.
Taking a few steps to prepare your roof and property before repairs ensures:
Protection for your home, landscaping, and outdoor areas.
Clear access for contractors to work safely and efficiently.
Fewer disruptions to your daily life, especially during noisy or messy repairs.
At Superior Roofing Plus, we always recommend roof maintenance before repair to our clients. Being proactive ensures fewer surprises and faster results.
Step 1: Perform a Roof Inspection
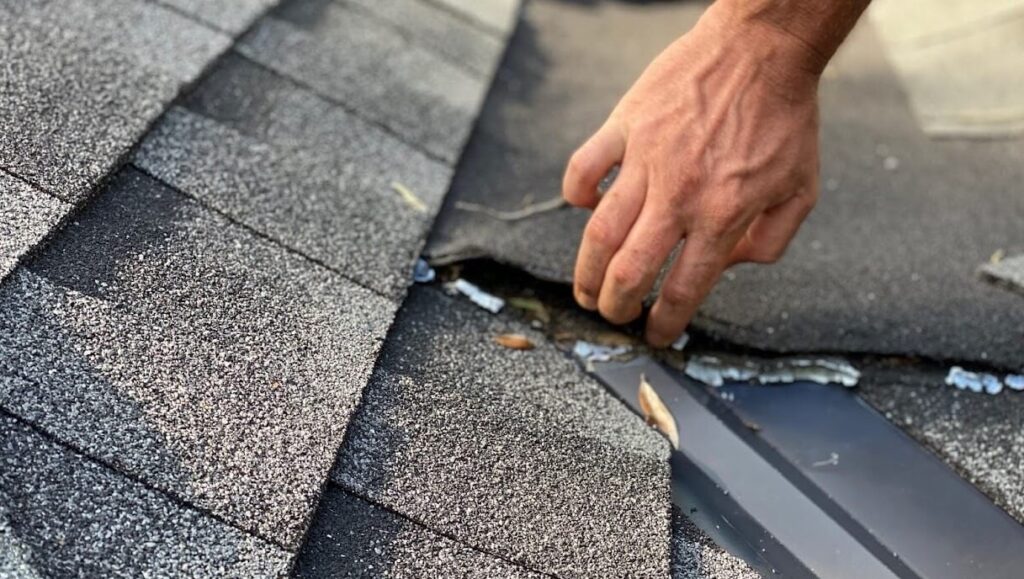
The first step in roof repair preparation is assessing the condition of your roof. Identifying the full extent of the damage is critical to ensure all necessary repairs are addressed. While some damage, such as missing shingles, is easy to spot, other issues might require professional expertise.
How to Inspect Your Roof
Start with a visual inspection from the ground. Look for missing, cracked, or curling shingles and debris buildup on the roof’s surface. Check your gutters for granules, as their presence often signals aging or damaged shingles.
If possible, inspect your attic for signs of water damage. Look for water stains, sagging insulation, or mold. These can be telltale signs of a roof leak or moisture problem.
Why Professional Inspections Are Key
While a quick DIY inspection can help identify obvious problems, hiring a professional for a thorough assessment is essential. Superior Roofing Plus offers detailed inspections to uncover hidden damage and provide you with a full repair plan. This ensures that no issue is left unaddressed during the repair process.
Step 2: Clear the Area Around Your Home
Roof repairs generate debris such as old shingles, nails, and other materials, which can pose a hazard to your property. Clearing the area around your home ensures safety and efficiency for the repair crew.
Outdoor Preparation Checklist
Move vehicles and equipment. Park your car away from the home or in the garage to avoid damage from falling debris. Ensure the driveway is clear for the roofing crew to bring in materials and tools.
Protect outdoor furniture and plants. Cover patio furniture, grills, and delicate landscaping with tarps, or move them to a safe location away from the work area.
Clear walkways and paths. Remove toys, tools, or decorations near your home to give contractors a clear, safe workspace.
While Superior Roofing Plus takes every precaution to protect your property during repairs, a bit of preparation on your part ensures a smoother process.
Step 3: Prepare Your Home’s Interior
Roof repairs don’t just affect the exterior of your home. Vibrations from repairs can cause disruptions inside, especially in areas directly beneath the roof. Dust and debris may also enter the attic or upper floors, making interior preparation an essential part of roof repair preparation.
How to Protect Your Home’s Interior
Remove wall decorations. Take down hanging items such as picture frames, mirrors, or shelves near the ceiling. Vibrations from roof repairs can cause these items to shift or fall.
Cover furniture and electronics. Use drop cloths or sheets to protect furniture, electronics, and other valuables from dust or debris during the repair.
Relocate fragile items. Move glassware, vases, or other delicate objects to a safe location away from the repair area.
These small steps ensure your home stays clean and free of damage while contractors work on your roof.
Step 4: Plan for Noise and Disruptions
Roof repairs can be noisy, especially if large equipment or heavy materials are involved. Planning ahead can help minimize stress for you, your family, and even your pets.
Tips for Managing Noise and Activity
Let your family know what to expect. Inform everyone about the repair schedule and explain that there will be noise and activity during the project.
Secure pets. Loud noises and unfamiliar activity can be unsettling for pets. Consider keeping them in a quiet room or boarding them for the day.
Plan activities outside the house. If possible, schedule errands, work, or activities away from home to avoid the noise and disruptions.
Superior Roofing Plus understands the impact roof repairs can have on your routine and works efficiently to complete the job as quickly as possible.
Step 5: Ensure Contractors Have Easy Access
Roofing crews need clear and safe access to your roof to perform repairs efficiently. Without proper access, the project may take longer than necessary.
How to Provide Clear Access
Unlock gates or fences leading to the backyard or roof area.
Trim any overhanging branches or plants that might obstruct the crew’s work.
Ensure clear pathways to power outlets, as contractors may need access to electricity for tools or equipment.
Superior Roofing Plus values clear communication with homeowners to ensure everything is ready before we begin repairs.
Step 6: Communicate and Review the Plan
Before the work starts, it’s essential to review the project plan with your contractor. This step ensures that you understand the scope of the project and avoids potential misunderstandings.
Key Questions to Ask
What is the estimated timeline for the repair?
What materials will be used, and are there any alternatives available?
How will debris and waste be managed during and after the repair?
Are there potential issues that could increase costs or extend the timeline?
Superior Roofing Plus emphasizes transparency and will address any questions or concerns you have. Open communication is key to a successful repair process.
Superior Roofing Plus: Your Trusted Partner in Roof Repair
Preparing your roof for repair doesn’t have to be overwhelming. By following these steps, you’ll protect your home, ensure the process goes smoothly, and avoid unnecessary stress. From inspecting your roof to preparing your property and reviewing the repair plan, every step plays a critical role in achieving the best results.
At Superior Roofing Plus, we take the guesswork out of roof repair preparation. Our experienced team provides detailed inspections, clear communication, and expert craftsmanship to ensure your roof is restored to peak condition. Whether you’re addressing storm damage, aging materials, or other issues, you can trust us to deliver quality service every time.
If you’re ready to get started, contact Superior Roofing Plus at (208) 242-2275 or email josh@superiorroofingplus.com to schedule an inspection today. Let us take care of the heavy lifting while you enjoy peace of mind knowing your roof is in good hands.

